Run a Raspberry Pi Minecraft server with a real web panel
A Raspberry Pi 4 or 5 makes a quiet, low-power home for a small Minecraft server. Here is what to buy, how to install the panel in one command, and how far to push it.
- arm64
- Linux
- Docker
 Paper
 Fabric
What You Need
The panel and its server image are published for arm64, so a 64-bit Raspberry Pi runs them like any other Linux machine. Memory is the limit that matters most: a vanilla or Paper server for up to ten players wants a 2 GB Java heap on a 4 GB machine, and a light modpack wants a 4 GB heap on a 6 GB machine. That puts a 4 GB Pi at the small end and an 8 GB Pi in the comfortable middle.
- A Raspberry Pi 4 or 5 with 4 GB of memory or more. 8 GB if you want mods.
- A 64-bit operating system, such as 64-bit Raspberry Pi OS.
- An SSD over USB rather than the SD card. Worlds read and write constantly, and a world on slow storage stutters during chunk loading.
- A wired network connection if you can.
Pick a Server Type That Suits the Pi
Minecraft cares far more about how fast one core is than about how many there are, and a Pi's cores are modest. Paper runs the same game as vanilla with years of performance work, and players still join with an unmodified client. If you want mods, Fabric with a handful of performance and quality-of-life mods is a better fit than a large Forge pack. A 200-mod kitchen-sink pack is not a Pi job.
- Small group, unchanged game: Paper.
- A few mods: Fabric.
- Lower the view distance; dropping from 12 to 8 chunks saves a lot of memory and is barely noticeable in play.
- Paper
 Purpur
- Fabric
Keep an Eye on It
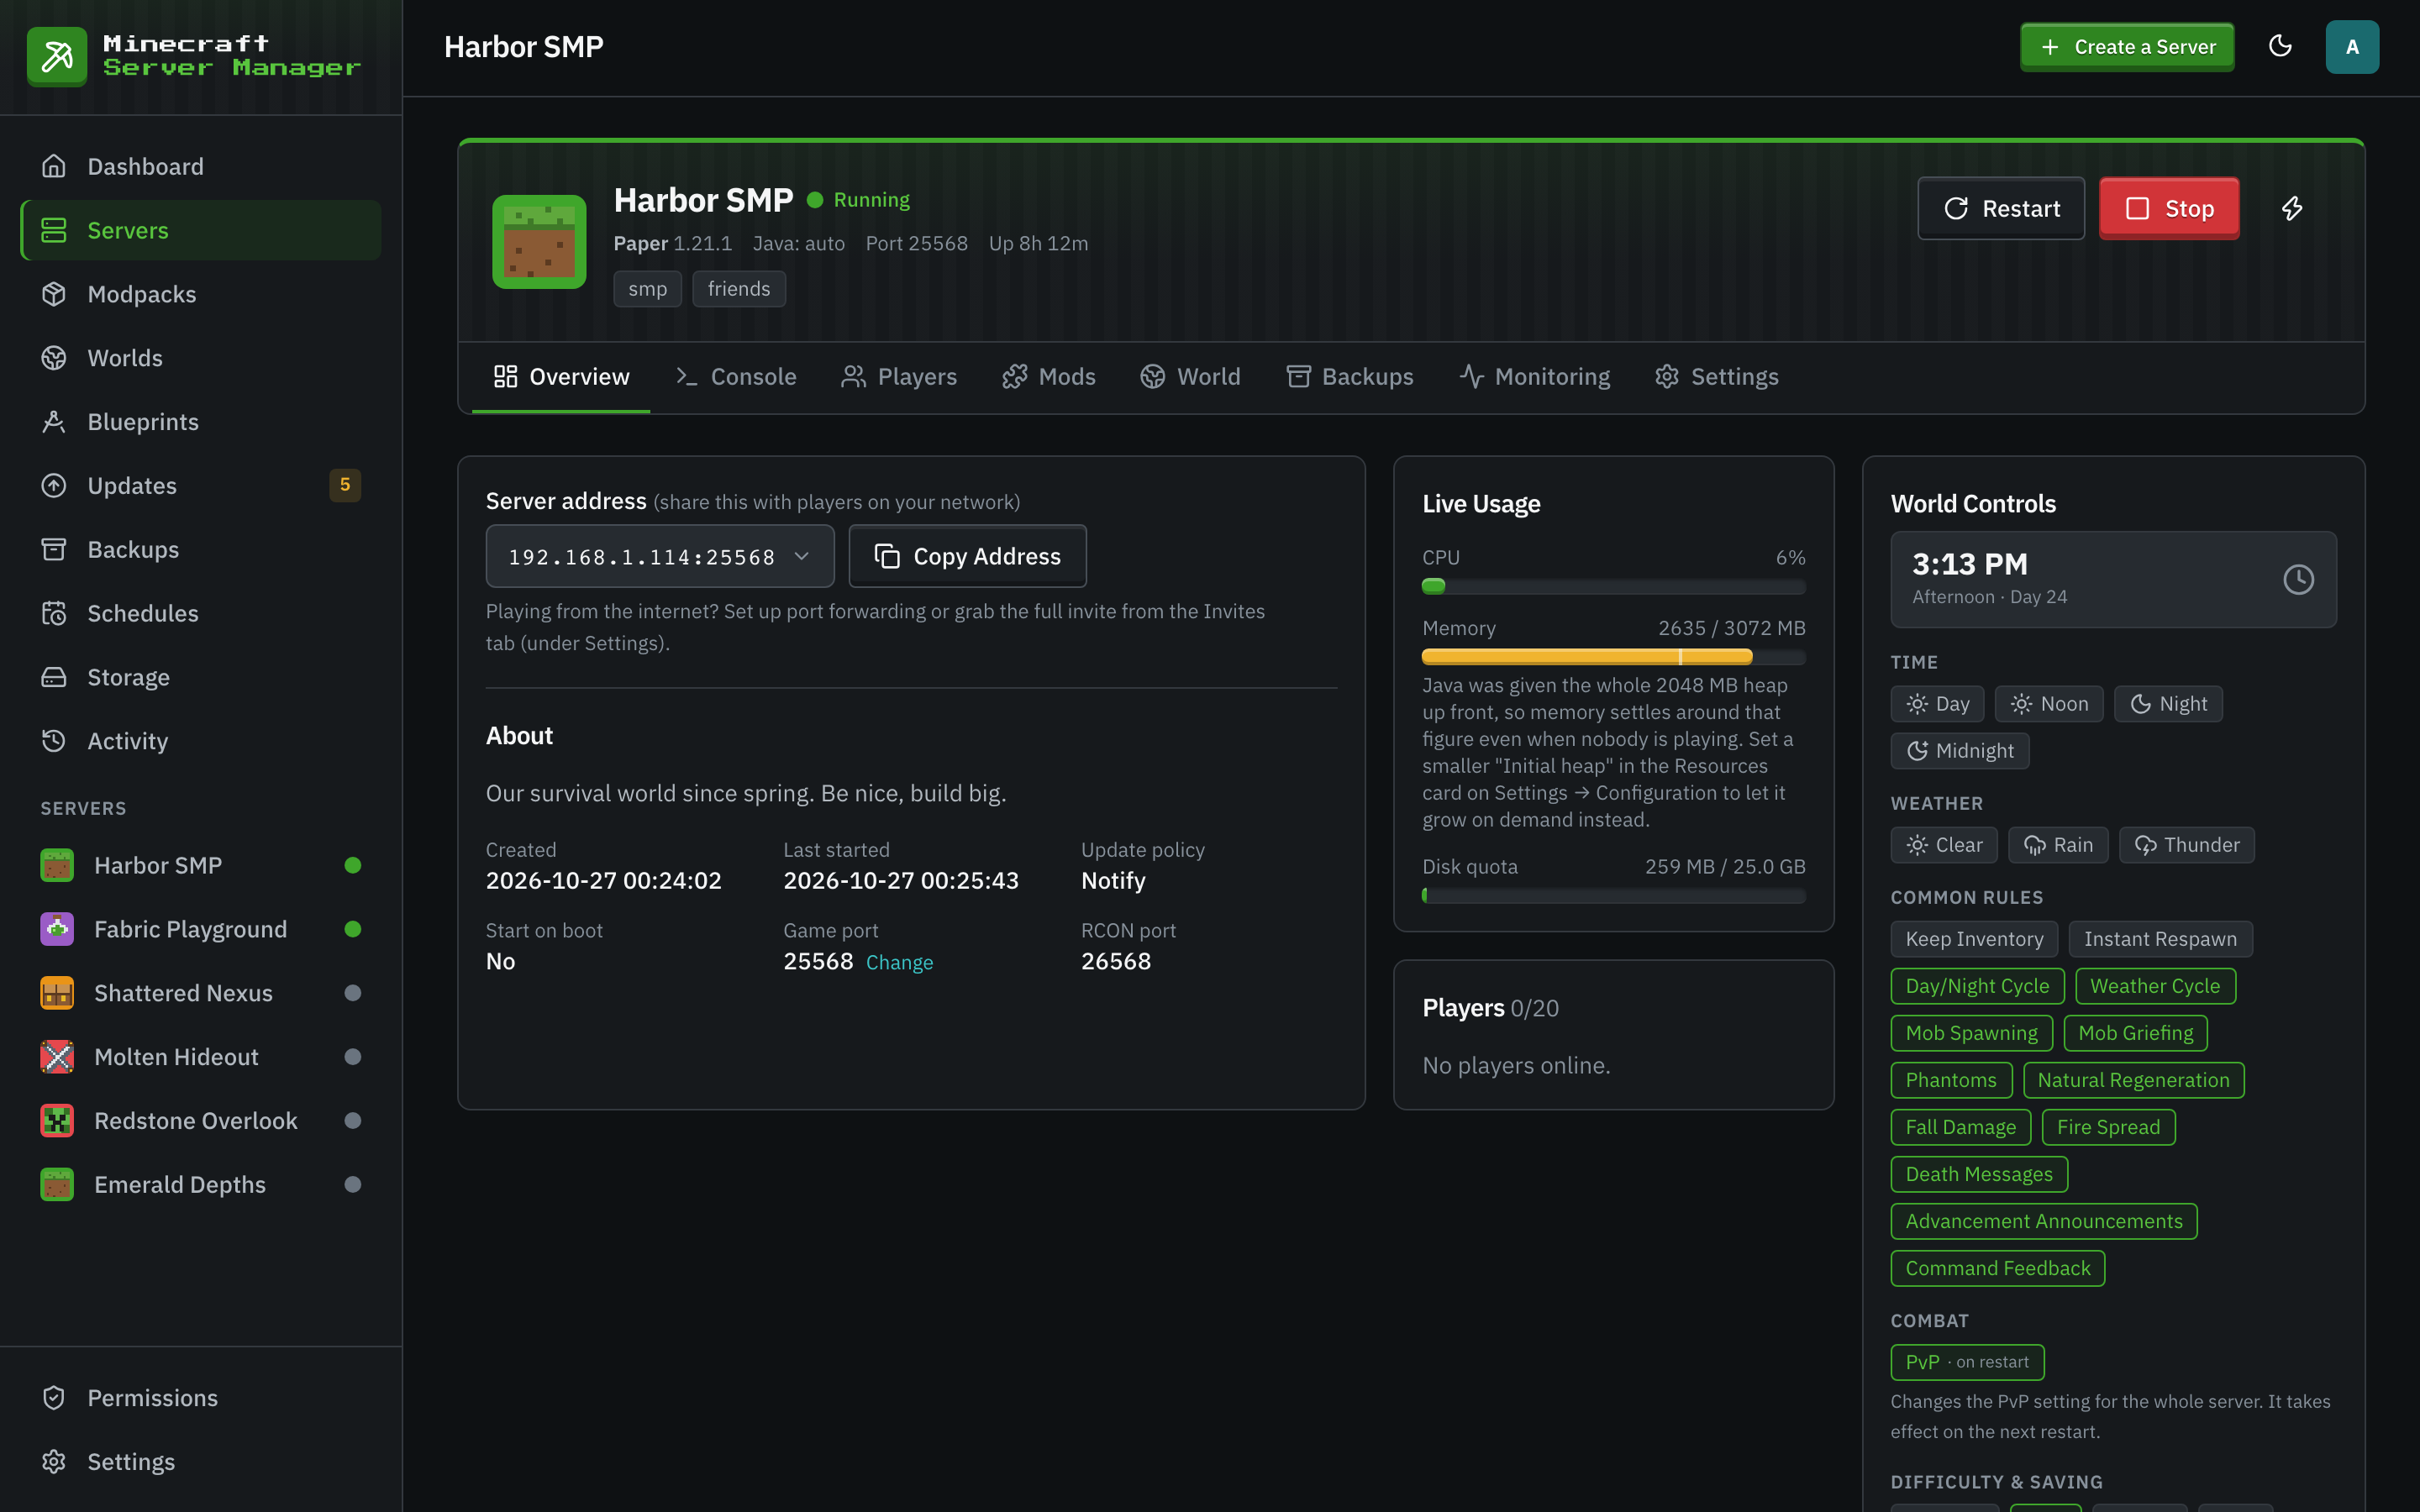
The server's Monitoring tab shows ticks per second and milliseconds per tick, so you can see when the Pi is falling behind. The memory meter shows what the container really uses. Java claims its whole heap up front by default; if you would rather see memory follow real use, set a smaller initial heap in the server's Resources card. Daily backups are on from the first day.
Install the Panel on a Raspberry Pi
- 1
Flash a 64-bit OS
Install 64-bit Raspberry Pi OS (or another 64-bit Linux), boot from the SSD if you can, and update the system.
- 2
Run the One-Line Installer
The installer on the Install page installs Docker if it is missing, sets up the panel in /opt/msm, starts it, and waits until it answers. It detects arm64 by itself.
- 3
Finish Setup in the Browser
Open the Pi's address on port 25564 from another computer. Because the panel is reachable from your network, setup asks for a 6-digit PIN, which the installer prints for you.
- 4
Create a Small Server
Pick Paper or Fabric in the wizard. The default memory adapts to the Pi's RAM; leave room for the system and other services.
Raspberry Pi Questions
- Will a Raspberry Pi 3 work?
- It is not a good fit. A Pi 3 has 1 GB of memory, while even a small vanilla or Paper server wants a 2 GB heap on a 4 GB machine. Use a Pi 4 or 5 with 4 GB or more.
- Do I need a 64-bit operating system?
- Yes. The panel image and the installer are built for arm64 and amd64, and the installer stops on any other architecture.
- Can I run a big modpack on a Pi?
- Large packs want 6 to 8 GB of Java heap and around 10 GB of memory in total, more than any Pi has. Stick to Paper or a light Fabric setup.
- How do players outside my home join?
- Forward the game port, 25565 by default over TCP and UDP, from your router to the Pi. Never forward the panel's port or the RCON ports; reach the panel through a VPN or a reverse proxy with TLS instead.
Keep Reading
 Home server guideHost a Minecraft server at home on Windows, macOS, or Linux, and let friends join safely.
 Paper and PurpurPaper and Purpur plugin servers, with plugins from four registries and players joining on an unmodified client.
 Fabric and QuiltFabric and Quilt servers for lightweight, fast-updating mods, with a version check before every Minecraft upgrade.
Turn Your Pi Into a Server
One command installs everything. The panel is free, open source, and runs entirely on the Pi.