
Getting started
First-run setup
Section titled “First-run setup”The first time you open the panel, a short setup wizard walks you through it:
- System Check makes sure Docker is reachable, Node.js is new enough, and the data folder is writable. If Docker isn’t running yet you can still continue; creating and starting servers waits until it is.
- Create Your Admin Account. This is the only account that exists until you add more, and it has full control. Pick a username (2 to 32 characters) and a password of at least 8 characters. You’re signed in as soon as it’s created.
- Panel Configuration (optional): a public domain to show players in connect addresses, a CurseForge API key, and your time zone. All of it can be changed later in Settings.
The last step offers Create a Server or Go to the Dashboard.
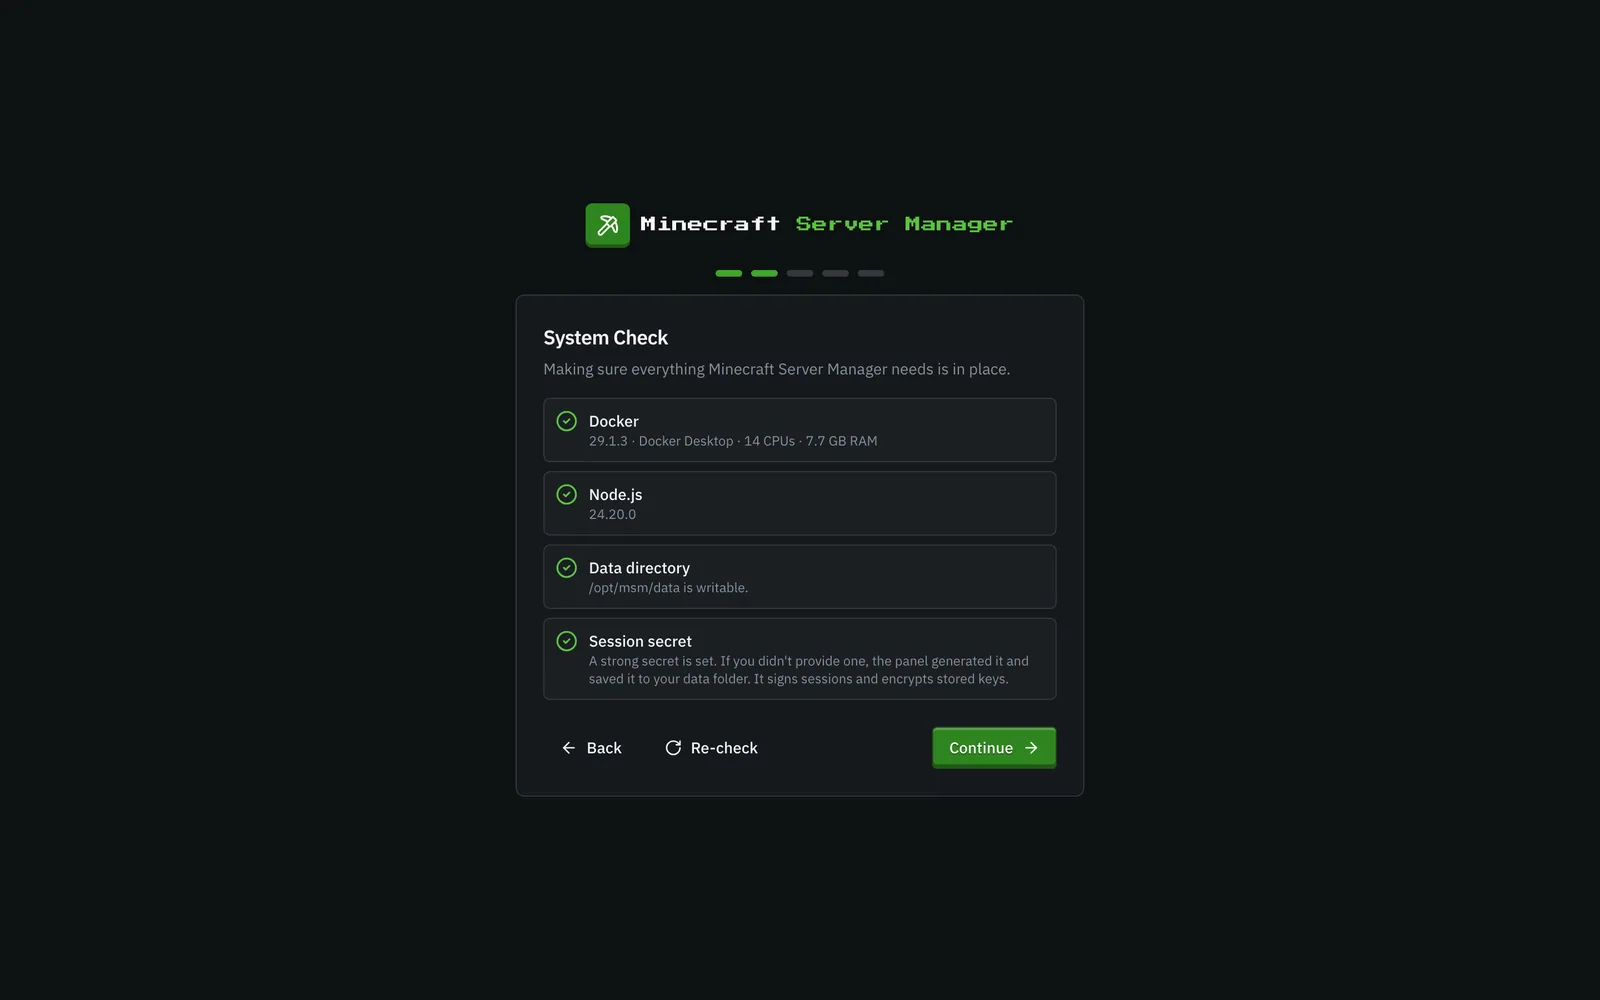
Exposed installs are PIN-gated. If you start the panel bound to a non-loopback address (
PANEL_HOSTother than127.0.0.1), the setup page also asks for a 6-digit PIN. The panel prints it to its console on startup. Enter it along with your username and password. This stops a stranger who reaches the port first from claiming the admin account. The PIN disappears once the admin account exists.
Signing in
Section titled “Signing in”After setup, the panel is protected by a login screen. Enter your username and password to continue.
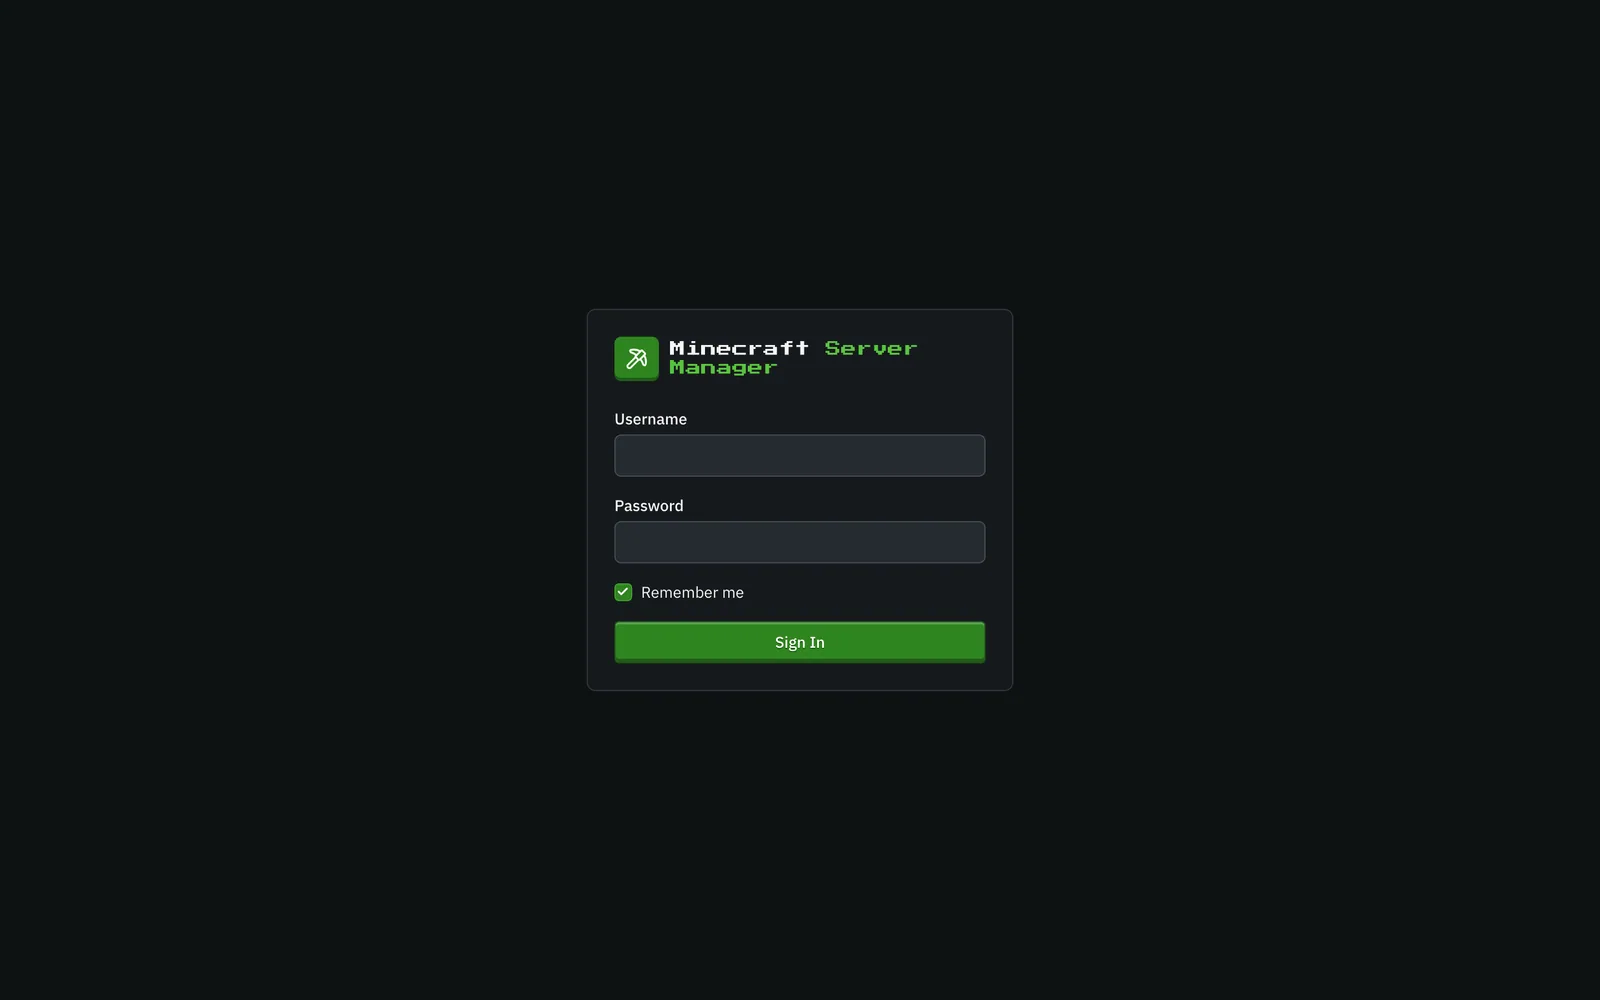
If two-factor authentication is enabled on your account, you’ll be asked for a 6-digit code from your authenticator app right after your password.
Finding your way around
Section titled “Finding your way around”Everything hangs off the left sidebar:
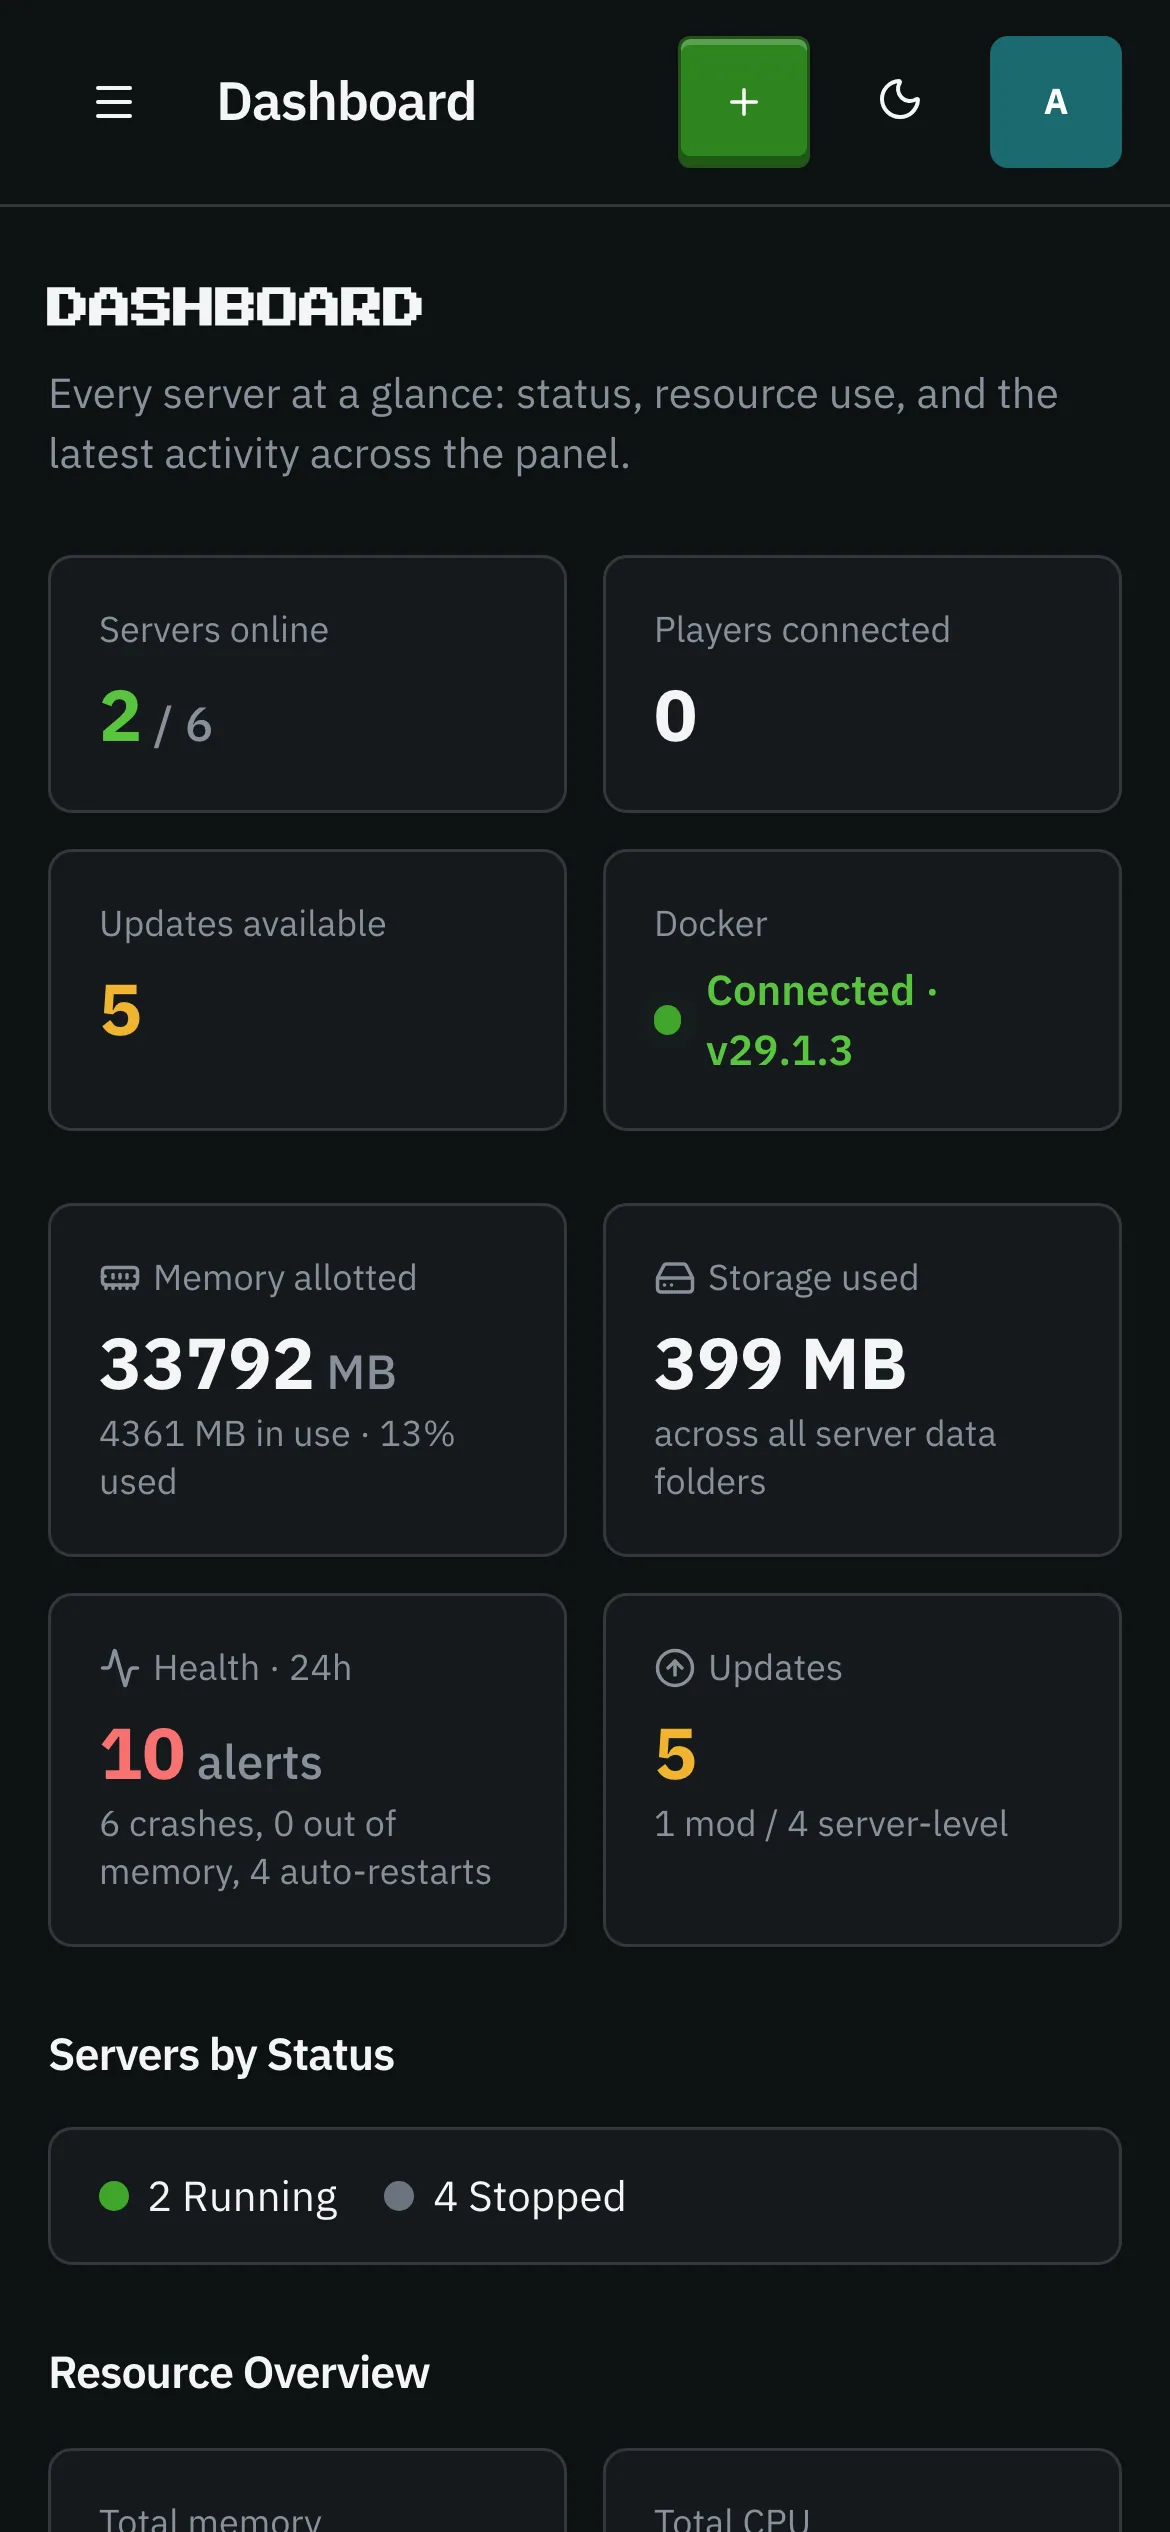
- Dashboard - every server at a glance (details).
- Servers, Modpacks, Worlds, Blueprints - create and manage servers and their content.
- Updates, Backups, Schedules, Storage, Activity - the operational side: what’s out of date, your snapshots, automation, disk usage, and the audit log.
- Permissions (bottom, admins only): what each user may do on each server (details).
- Settings (bottom, admins only): API keys, panel configuration, defaults for new servers, backup retention, users, sign-in security, and the public API.
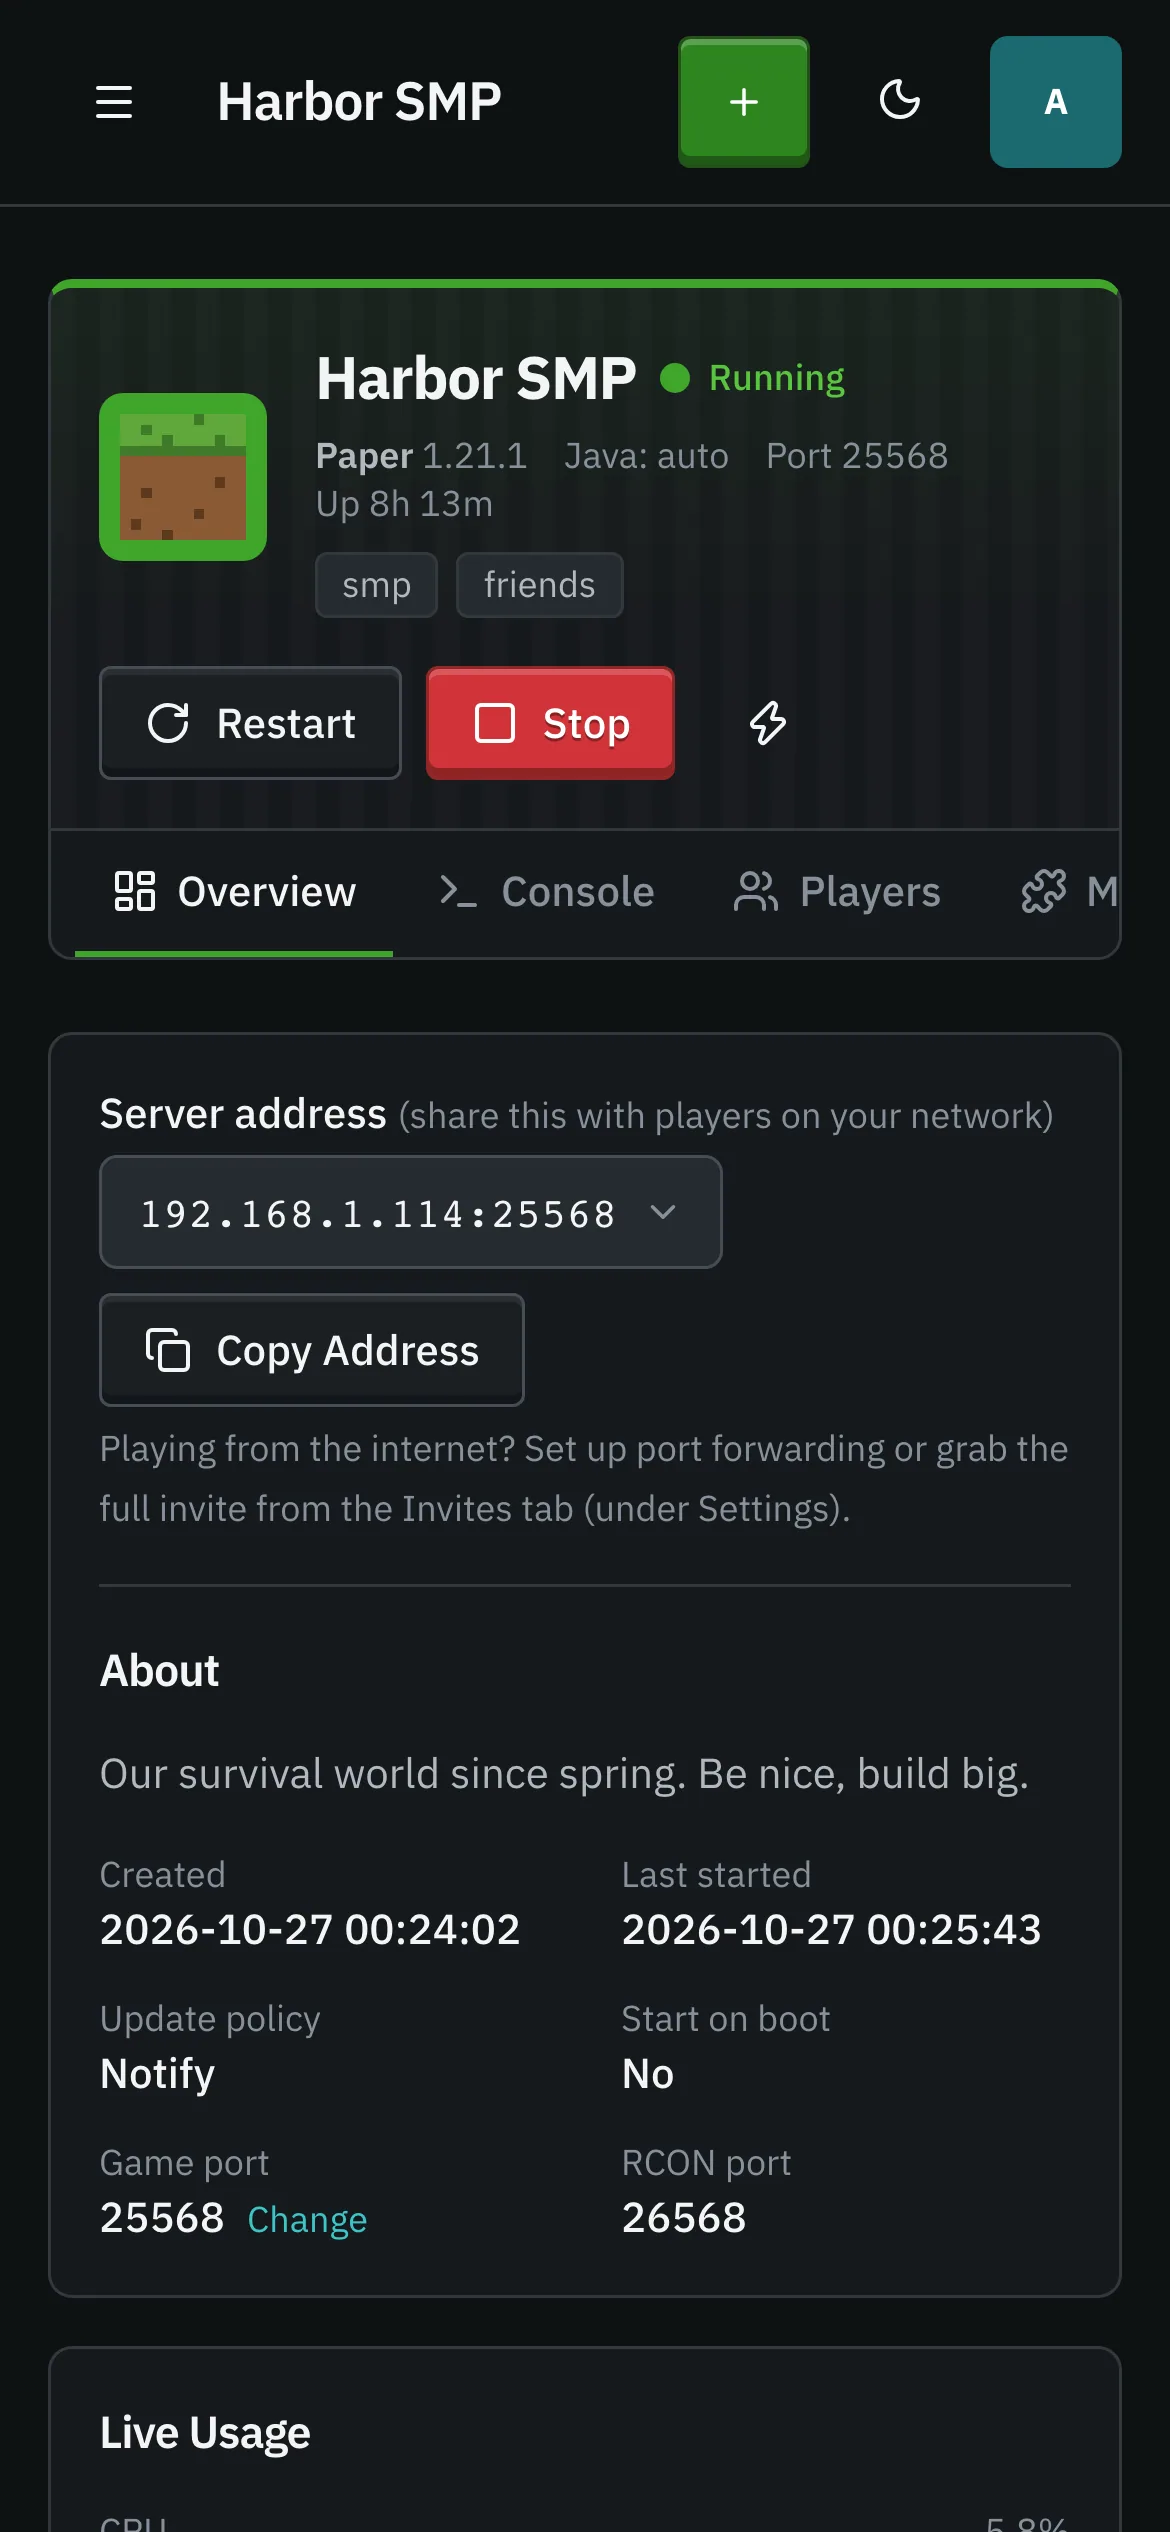
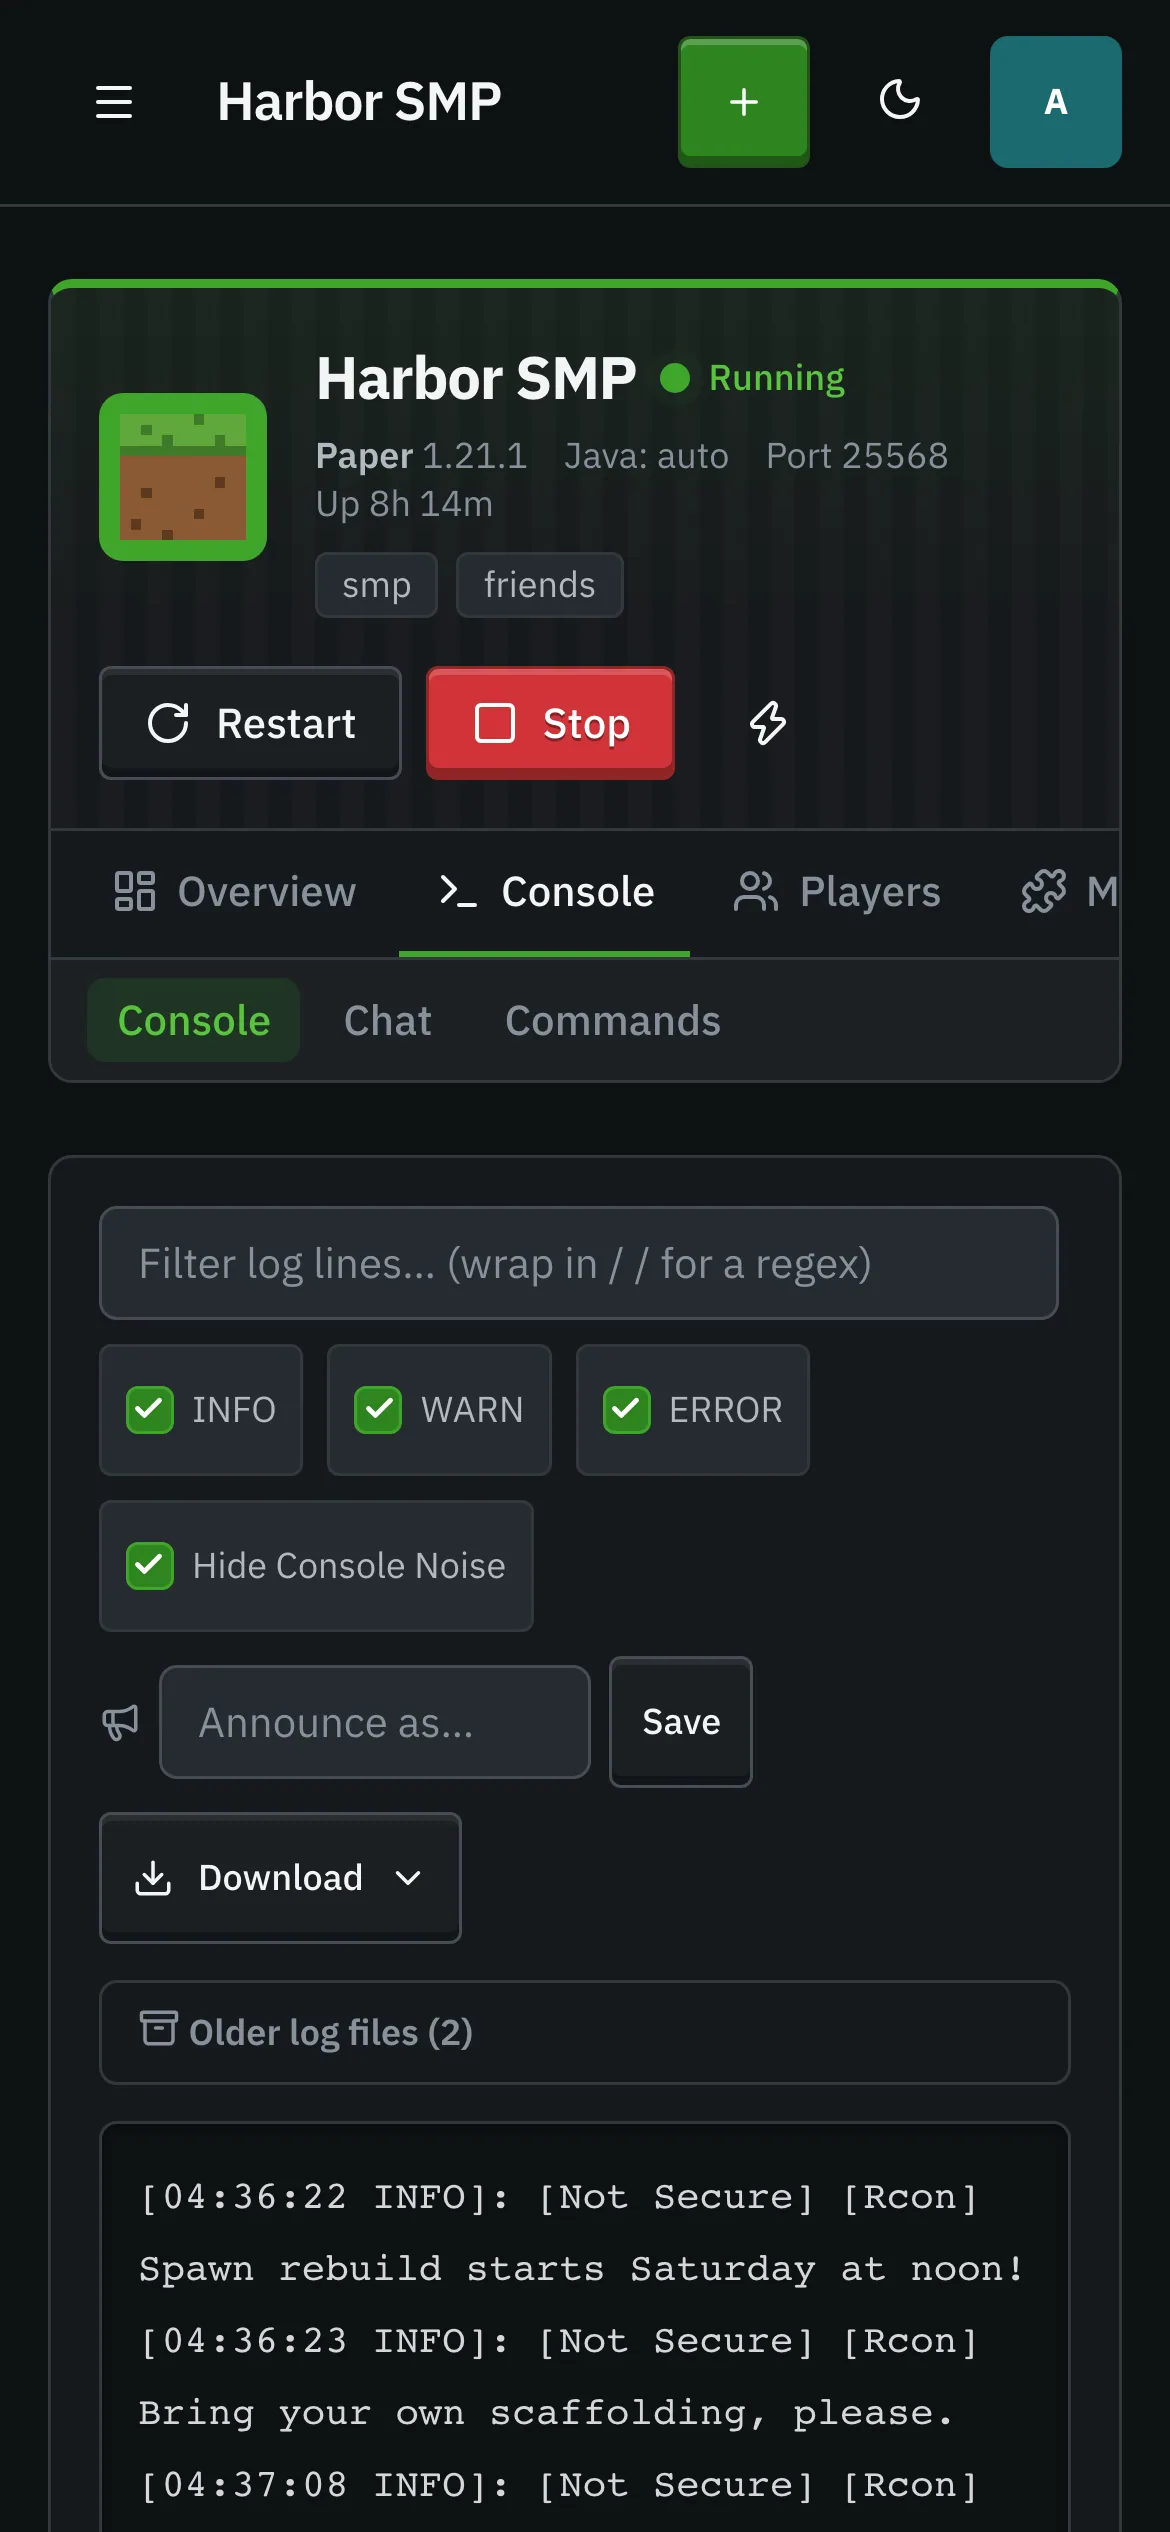
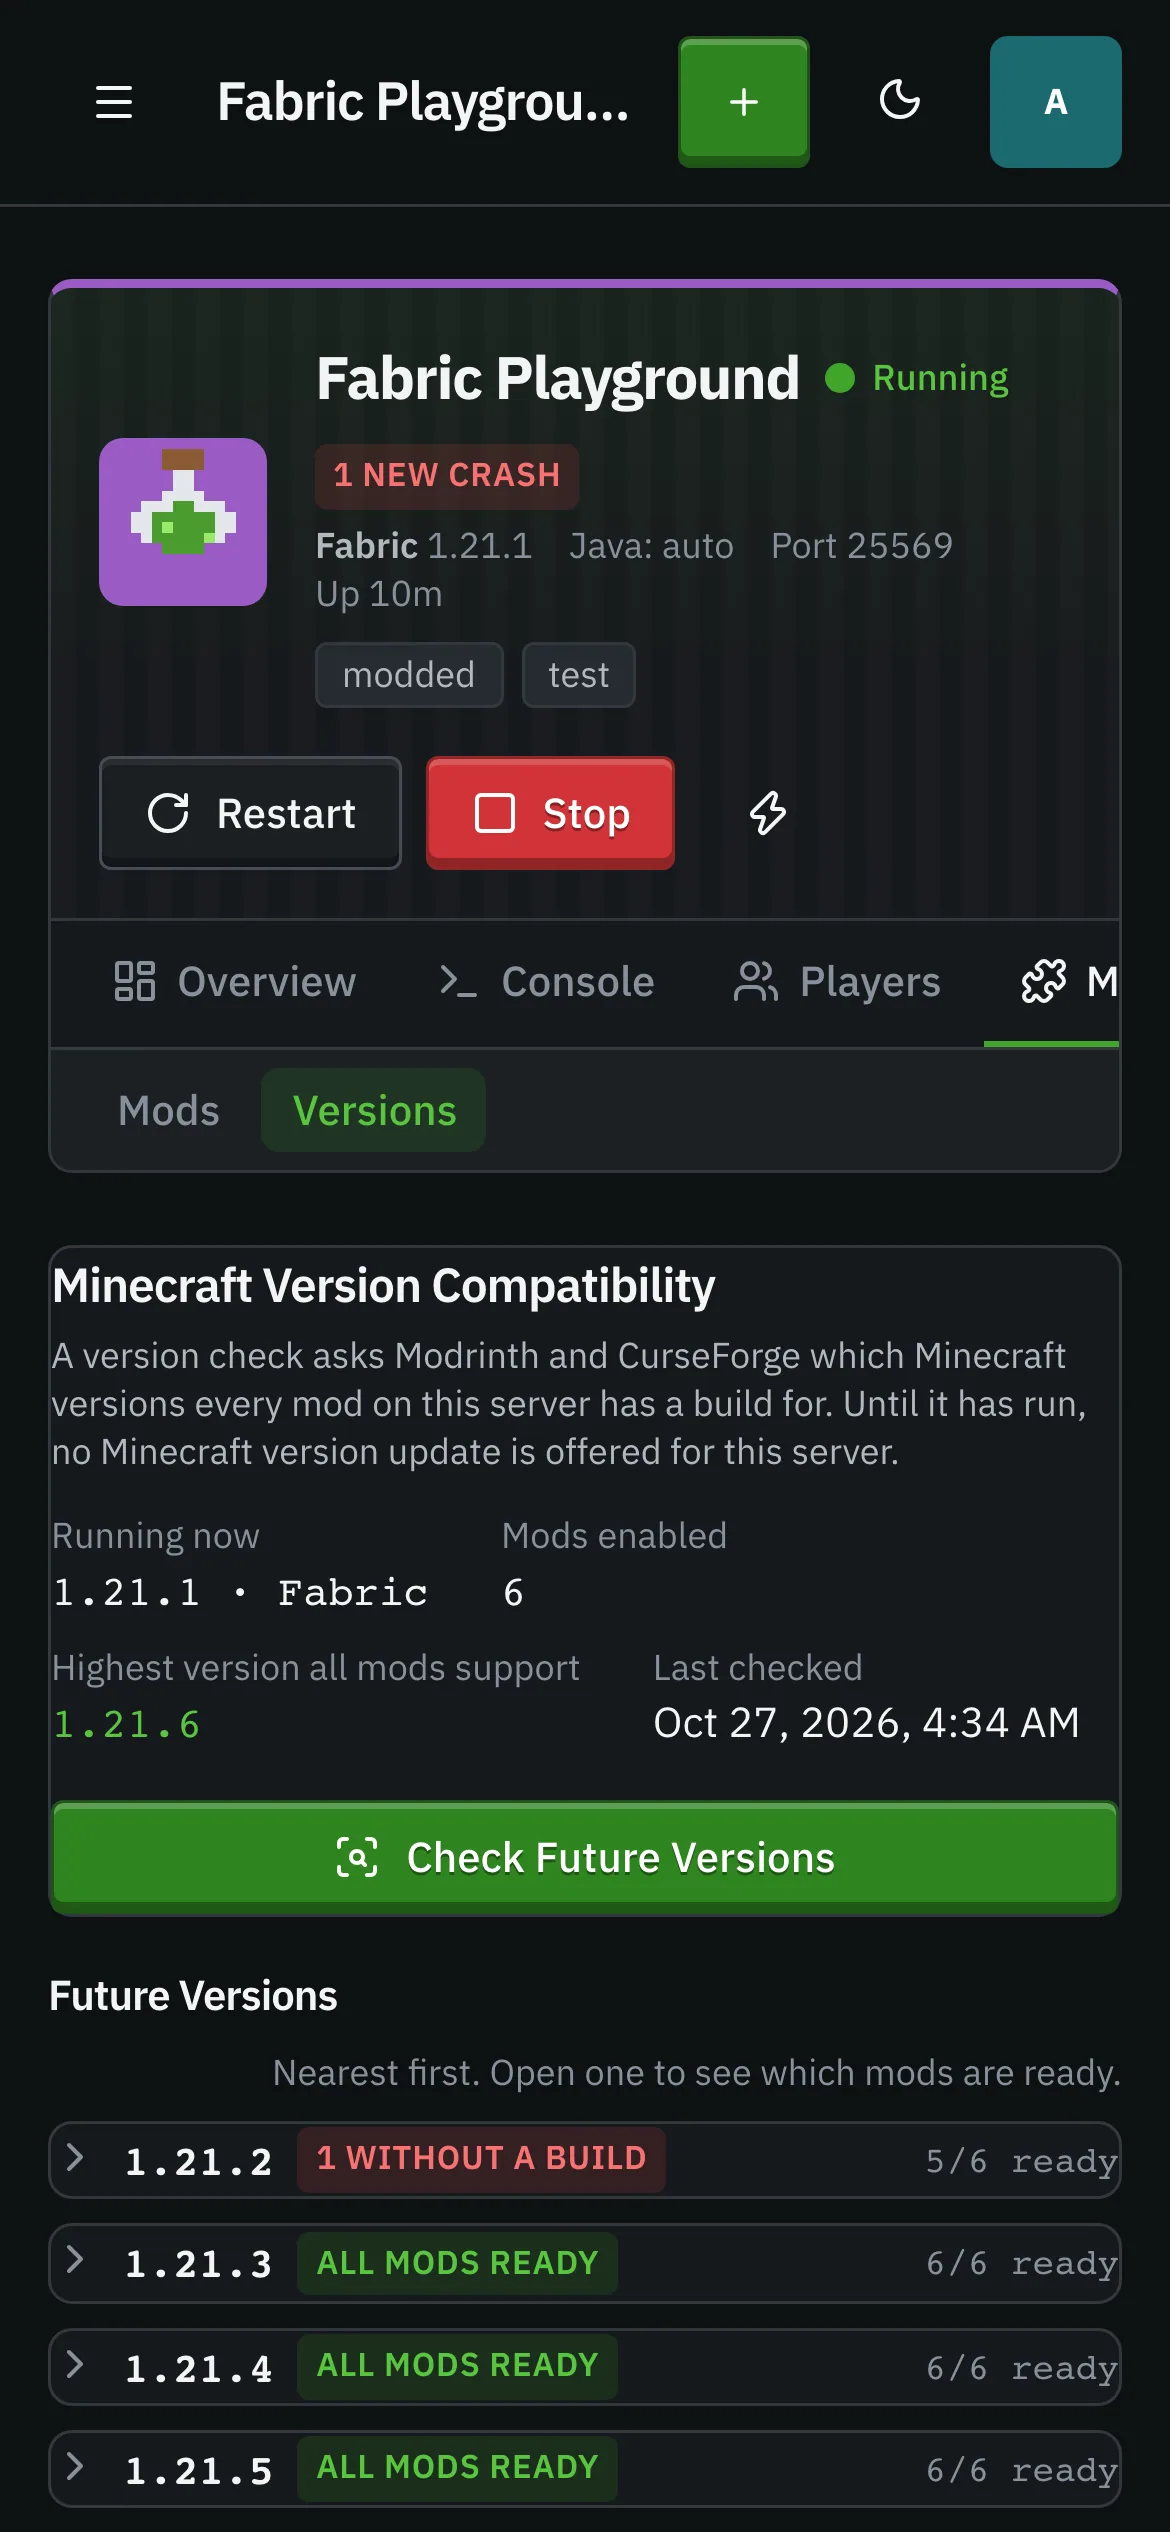
Below those, the sidebar lists your servers. Opening one shows its own tabs: Overview, Console, Players, Mods, World, Backups, Monitoring, and Settings, most with related sub-tabs (for example, Settings → Configuration holds the server’s settings and its game port). See A single server.
The top bar has the Create a Server button, a theme toggle (dark/light), and your account menu, where you can change your profile picture, manage two-factor authentication, or sign out.
On a phone or tablet
Section titled “On a phone or tablet”Every page is laid out for a narrow screen first and widens from there: the sidebar tucks away behind the menu button, data tables stack into cards, toolbars wrap, and the world-controls rail collapses to a card you open when you need it. Buttons and chips have a real touch target size. Nothing is desktop-only.


What you need
Section titled “What you need”The panel talks to Docker to run servers, so it needs access to a Docker daemon (Docker Desktop or a Docker Engine socket). When Docker is reachable, the dashboard’s Docker tile shows Connected and its version. If it’s not, the panel still runs. You just can’t start servers until the daemon is up.